
Painting cabinets can breathe new life into your kitchen or bathroom, but it’s easy to make costly mistakes along the way. In this guide, we’ll share seven common pitfalls to avoid and offer handy DIY tips to make your cabinet painting project a success. Get ready to roll up your sleeves and transform your space!
Choosing the Wrong Paint Type
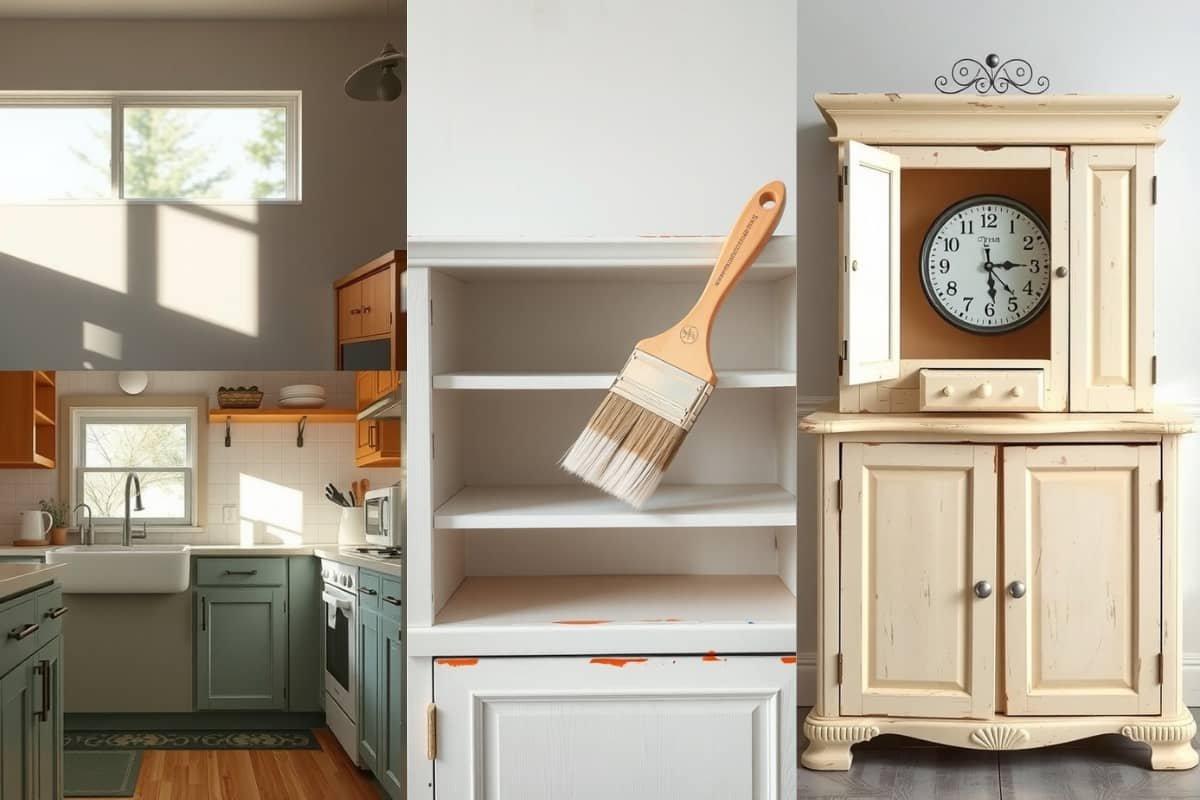
Picking the right paint for your cabinets can be a game changer. In the image, we see someone contemplating different cabinet finishes and paint options. This moment captures the confusion that can come with making such a choice.
Using the wrong paint type can lead to all sorts of headaches later on. For instance, oil-based paints may appear smooth but can take ages to dry and require strong solvents for cleanup. On the other hand, water-based paints dry faster and are easier to work with, making them a popular choice. Each option has its pros and cons, and knowing these can help you avoid common mistakes when painting cabinets.
It’s a good idea to test a small area first. This lets you see how the paint reacts with your cabinets. Also, consider the finish. A glossy finish might look stunning but can show imperfections more than a satin or matte finish. Making informed choices can help you achieve that perfect look without unnecessary frustration.
Skipping Surface Preparation

One of the biggest mistakes to avoid when painting cabinets is skipping surface preparation. This step is essential for achieving a smooth and long-lasting finish.
The image shows a freshly sanded surface, with a tool and sawdust sprinkled across the wood. This is exactly the kind of preparation you need before applying paint. Sanding helps remove any old finishes and creates a rough texture for the paint to adhere to.
When you don’t prepare the surface properly, the paint can chip, peel, or look uneven. That can lead to frustration and the need for touch-ups later on. Taking the time to sand, clean, and prime your cabinets will pay off in the end.
Failing to Use Primer

Choosing to skip primer is one of the common mistakes to avoid when painting cabinets. Primer acts as a foundation for your topcoat, ensuring better adhesion and a smoother finish. Without it, you might end up with uneven color and poor durability.
The image shows a paintbrush resting against a freshly painted cabinet. It highlights the importance of using the right tools and techniques. That brush should be used to apply primer before any paint goes on.
Using primer can also help prevent stains from showing through, especially if you’re painting over a darker color or a wood with heavy grain. If you want your cabinets to look professional, don’t skip this step!
Overlooking Lighting Conditions
When you’re planning to paint your cabinets, don’t forget about the lighting in your space. The way light hits your kitchen can change the entire look of your chosen paint color.
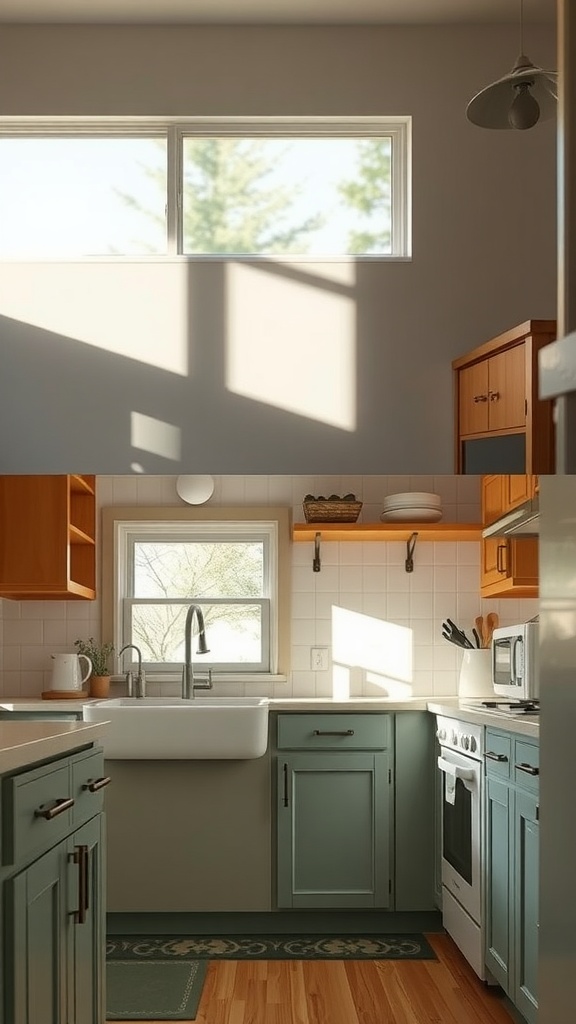
In the image, you can see how natural light pours through the window, creating shadows and highlights on the cabinets. This shows just how much lighting affects the appearance of colors.
Ignoring lighting can lead to surprises. A color that looks great in the store might appear completely different in your kitchen. So, take a moment to observe how light interacts with your space throughout the day.
Consider testing paint samples in the actual light conditions. Place swatches on your cabinets and watch how they change from morning to evening. This step is one of the key mistakes to avoid when painting cabinets.
By paying attention to lighting, you can choose a color you’ll love every hour of the day!
Ignoring Hardware and Accessories
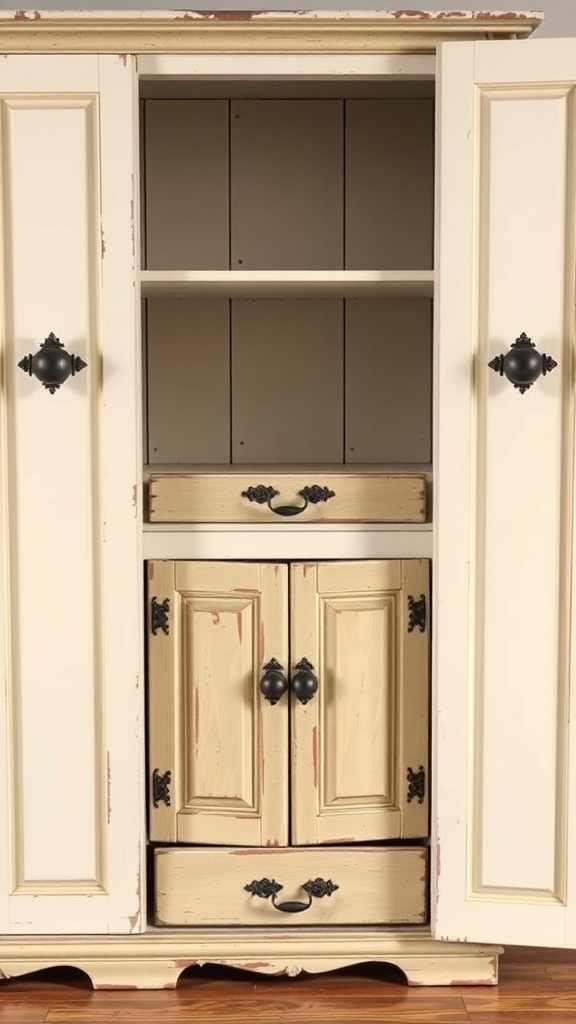
When painting cabinets, one big mistake to avoid is overlooking the hardware and accessories. The image shows a charming cabinet with contrasting black knobs and handles against a creamy finish. These elements can greatly influence the overall look.
Ignoring the hardware can lead to a mismatched style. If you paint the cabinets but stick with old, outdated hardware, it might clash. Instead, consider how new handles or knobs can elevate your project. It’s all about creating a cohesive look.
Also, think about removing all hardware before painting. This ensures that you won’t accidentally get paint on them, which can be a hassle to clean later. Plus, it allows you to paint every nook and cranny of the cabinet without obstruction.
Incorporating stylish hardware is a simple way to add personality. Whether you prefer a modern touch or something more rustic, choosing the right accessories can be a game changer for your newly painted cabinets. Don’t let neglected hardware be one of the mistakes to avoid when painting cabinets!
Neglecting Proper Ventilation
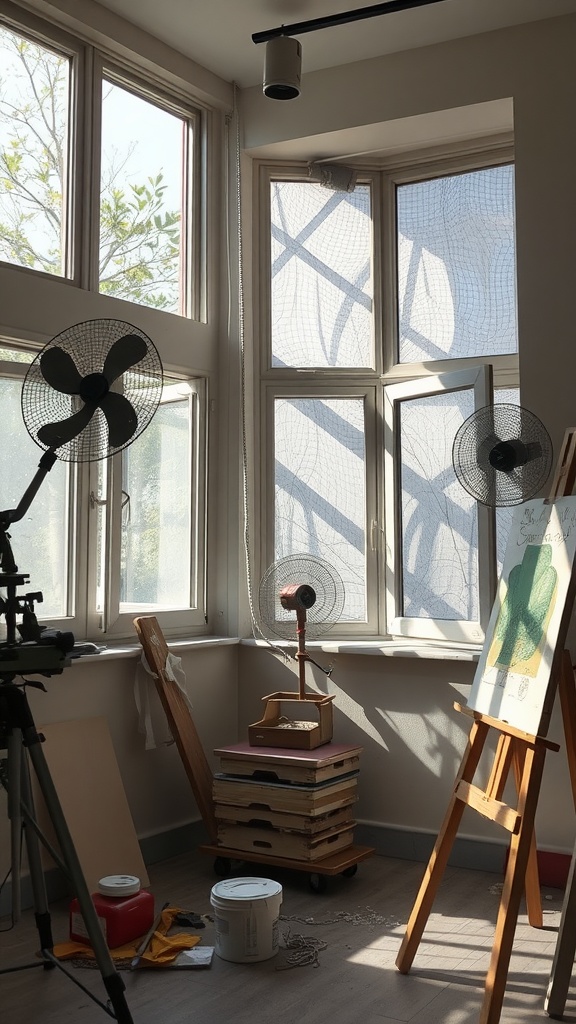
When painting cabinets, one big mistake to avoid is neglecting proper ventilation. The image shows a workspace filled with natural light and fans, an ideal setup for keeping air flowing. Stuffy, closed spaces can trap fumes and paint odors, making it uncomfortable and unsafe.
Consider opening windows and using fans to create a cross breeze. This helps in reducing harmful vapors and speeds up the drying process. Plus, it makes the whole experience more pleasant!
Having enough airflow also affects the finish of your cabinets. Without ventilation, paint can dry unevenly, leading to unsightly drips or streaks. So, make sure to prioritize ventilation in your painting area.
Remember, a fresh and airy space not only protects your health but also enhances your DIY project. It’s a simple step in your checklist of mistakes to avoid when painting cabinets that can make a significant difference!
Rushing the Drying Process
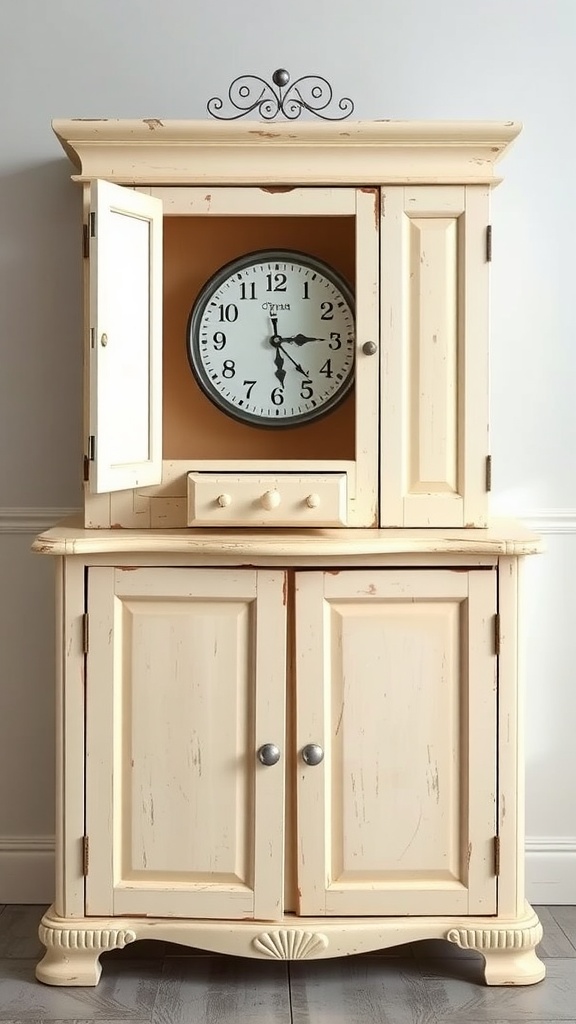
One of the common mistakes to avoid when painting cabinets is rushing the drying process. This can lead to all sorts of problems later on. When paint isn’t allowed to dry properly, it can result in smudges, streaks, and an uneven finish. Nobody wants to spend time painting only to have it look messy!
In the image, we see a beautifully painted cabinet, showcasing a gentle cream color that emphasizes a vintage vibe. If someone were to rush the drying of such a piece, it could easily lose its charm. Allowing the paint adequate time to cure will keep that lovely finish intact.
It’s tempting to move on to the next step, especially when you’re excited about your new look. Just remember that patience is key! Set aside enough time for each coat to dry before applying the next one.
So, let that cabinet breathe! You’ll be glad you did when you see the final results. Trust us, taking time at this stage will bring out the best in your project.