

If you’ve just picked up a paint sprayer, you’re in for a treat! Using one can make your painting projects quicker and more fun, but it can also feel a bit overwhelming at first. Don’t worry; we’ve gathered ten handy tips to help you get the hang of your new tool and achieve that flawless finish you’re dreaming of.
Adjusting the Sprayer Settings
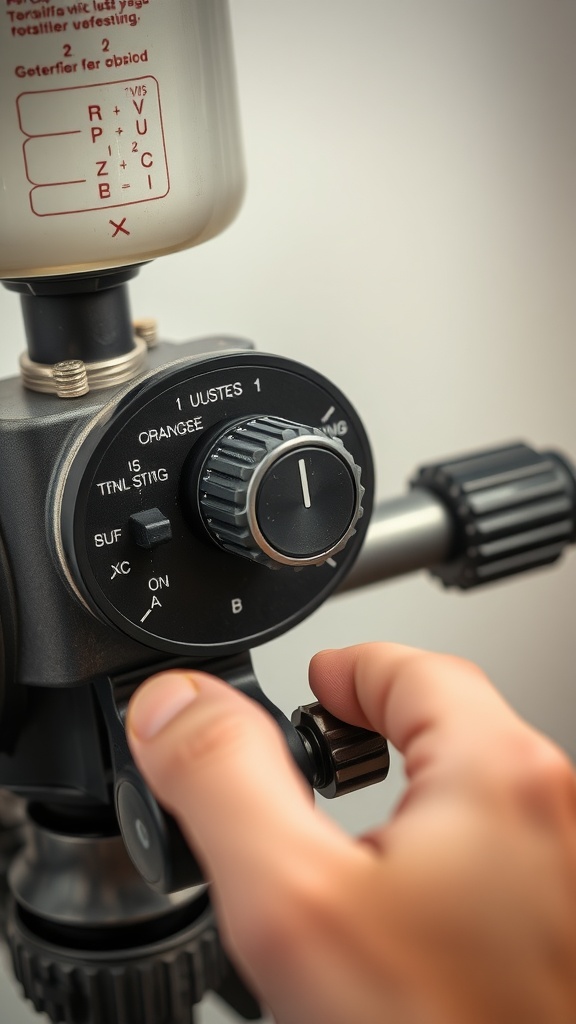
Getting your paint sprayer settings right can make a big difference in your project. The image shows a close-up of a sprayer’s control knobs. These knobs let you adjust the spray pattern and flow rate, ensuring you get the finish you want.
The first step is to understand what each knob does. You’ll see settings for adjusting the paint thickness and the width of the spray. Take some time to familiarize yourself with these adjustments before you start your project.
For beginners, start with a low pressure and gradually increase it. This approach helps you control the spray better and reduces the chance of overspray. Remember, practice makes perfect!
It’s also smart to test your settings on a scrap piece of wood or cardboard. This way, you can see how the paint sprays before you tackle your main surface. It’s a simple tip that can save you time and hassle later on.
Safety Gear Essentials for Paint Spraying
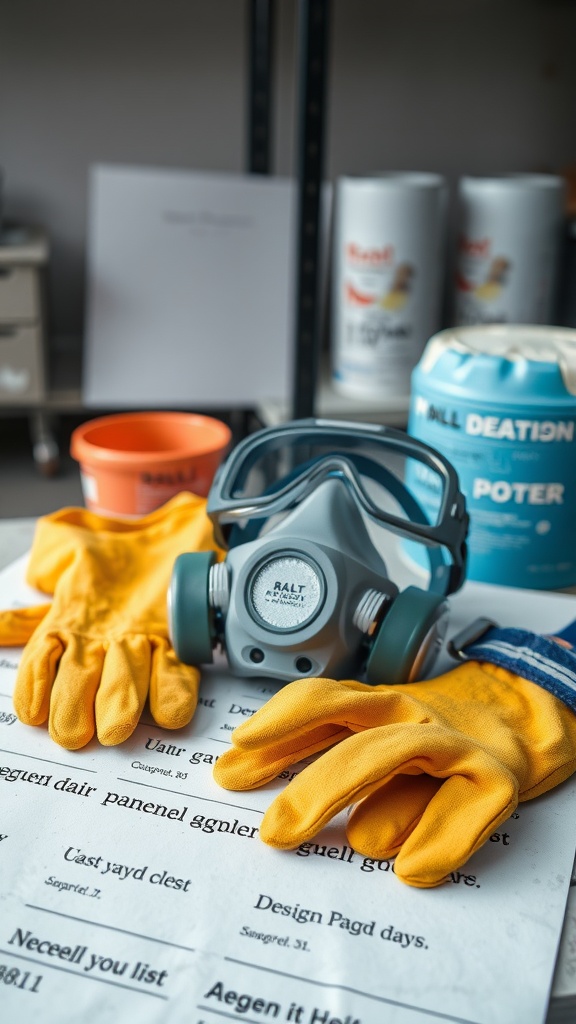
When you’re getting ready to use a paint sprayer, safety should always be your top priority. The image shows some important safety gear you’ll need before you start. This gear helps protect you from paint fumes and any spills.
First up, a good quality respirator is key. It keeps harmful chemicals and dust out of your lungs. You want a mask that fits snugly, like the one featured. This ensures you’re breathing clean air while spraying.
Next, gloves are a must. The bright yellow gloves in the image are perfect for protecting your hands from paint and solvents. They’ll keep your skin safe from any irritation.
Don’t forget goggles, either! They shield your eyes from splashes and airborne particles. Safety goggles ensure you can focus on your project without worrying about what’s in the air.
Finally, remember to wear long-sleeved clothing. It might not be visible in the picture, but it’s another layer of protection against paint splatters. Staying safe is part of your beginner tips to using a paint sprayer, so gear up and enjoy the process!
Choosing the Right Paint for Spraying
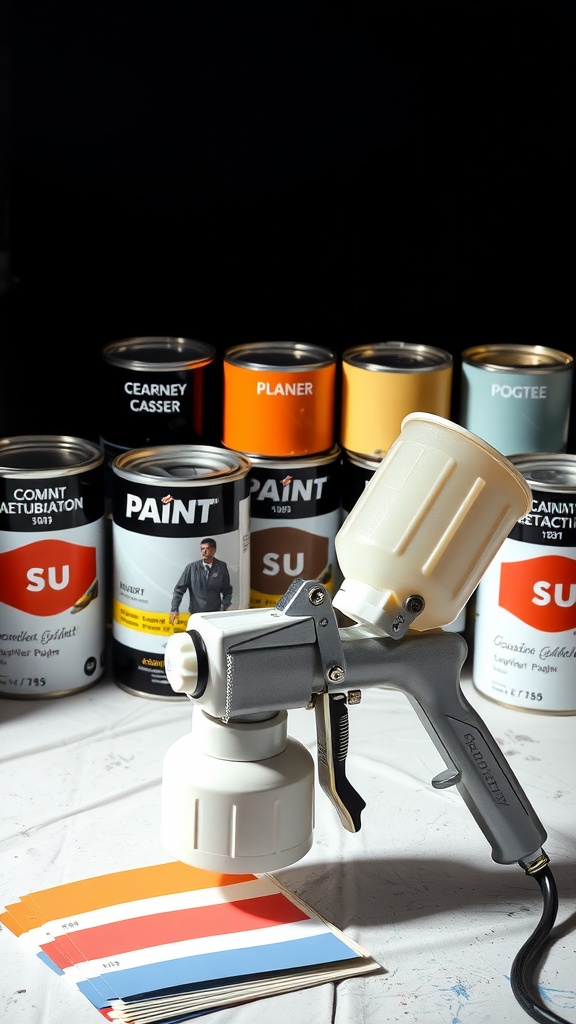
When you’re getting started with a paint sprayer, picking the right paint is a game changer. The image shows a sprayer ready to go, with various cans of paint and color swatches lined up. This setup hints at the joy of experimenting with colors and finishes.
Look for paints labeled specifically for spray application. These usually have a smoother consistency, making them ideal for a fine finish. You’ll want to avoid thick, heavy paints that can clog the sprayer. Instead, choose paints designed for sprayers, like latex or acrylic based options.
Don’t forget to test your paint with a small sample to see how it sprays. Grab those color swatches shown in the image and check how each color looks once sprayed. This can save you from a color mishap later on!
Also, consider the finish you want. Do you prefer a matte, satin, or glossy look? Your choice will affect not just the final appearance, but also how the paint interacts with the sprayer. Remember, these beginner tips to using a paint sprayer can really help steer you in the right direction.
Properly Mixing Paint for Spraying
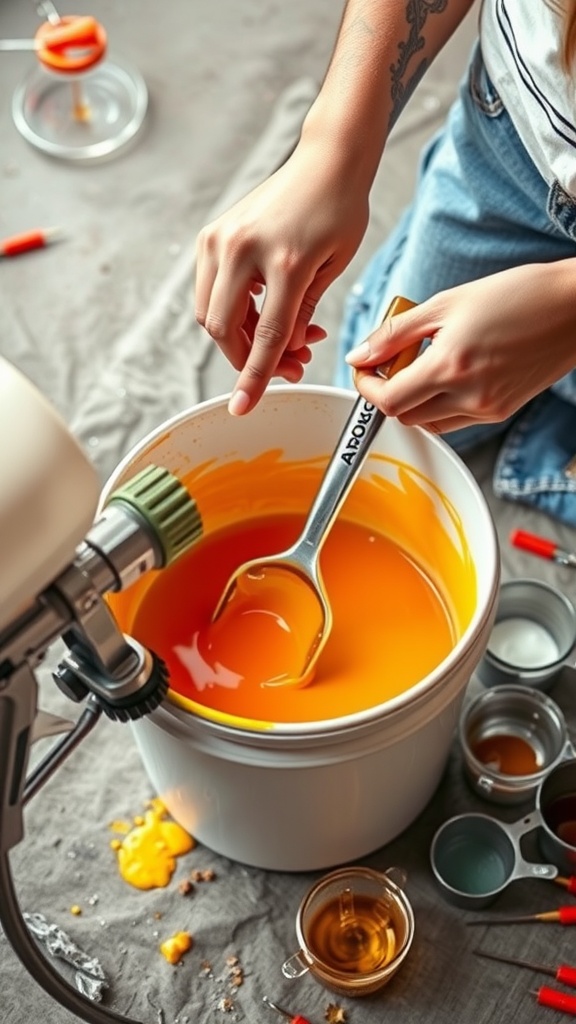
Mixing paint correctly is super important when using a paint sprayer. The image shows a person preparing paint in a bucket, and you can see the bright orange color they’re working with. It’s a clear reminder that the right consistency can make all the difference.
First, check the label on your paint. It usually provides guidance on how to mix it for spraying. This step can save you from potential clogs in the sprayer and uneven coverage.
Next, it’s time to thin the paint, if necessary. This process involves adding a little water or a specific thinner based on your paint type. Aim for a smooth, pourable consistency that flows easily. A good rule of thumb is to mix until it resembles the thickness of cream.
Use a stir stick or a paint mixer attachment to combine the paint thoroughly. Don’t rush it! Proper mixing helps avoid lumps or inconsistencies that can lead to a messy job during spraying.
Finally, always conduct a test spray on a piece of cardboard or scrap material. This quick check ensures your paint is ready for the main event. Following these beginner tips to using a paint sprayer will set you up for success!
Preparing Your Workspace for Spraying
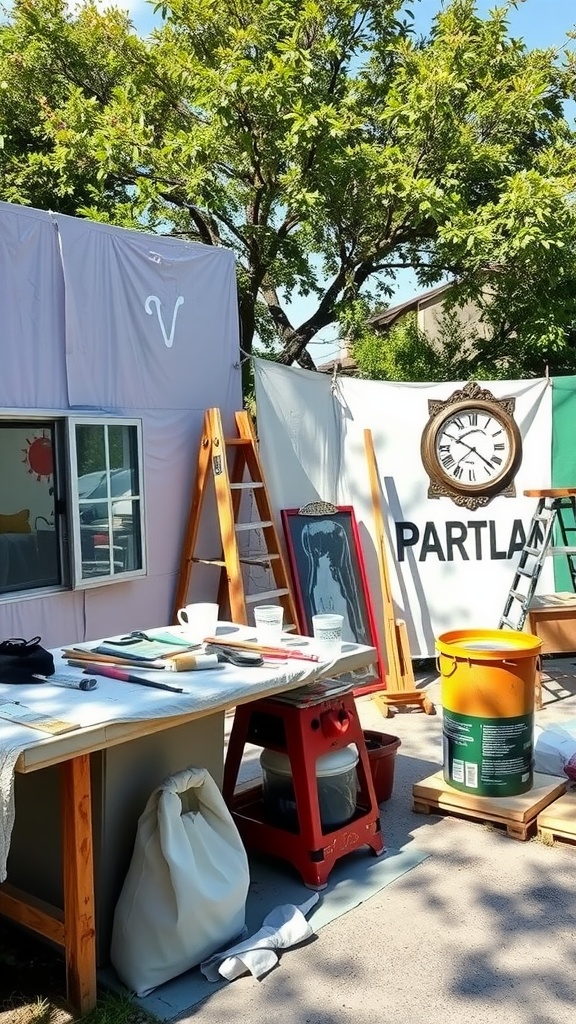
Before you get into painting, setting up your workspace is key to success. The image shows a well-organized outdoor area ready for a paint spraying project. You can see tables, tools, and a variety of materials neatly arranged. This kind of setup helps keep everything in place and makes it easy to grab what you need.
Start by selecting an open area with good ventilation. This is important for safety and helps the paint dry evenly. The image features a big tree providing shade, which is a great idea for warm days. Being outside minimizes mess and makes cleanup simpler.
Next, cover surfaces you want to protect. In the image, the ground is covered, which prevents paint splatters from ruining it. Use drop cloths or plastic sheets to shield nearby objects and surfaces. This step is crucial to avoid extra work later on.
Finally, organize your tools and materials. The image shows ladders, containers, and brushes placed where they are easily accessible. This kind of preparation helps you stay focused on painting and reduces interruptions. With these beginner tips to using a paint sprayer, you’ll be set for a smooth and fun painting experience!
Cleaning Your Paint Sprayer

Cleaning your paint sprayer after each use is key to keeping it in great shape. The image shows a sprayer set up with various components for an effective cleaning process. You can see the sprayer, a container for cleaning solution, and a brush to help with the details.
Start by detaching the container and pouring a suitable cleaning solution into it. In the image, you can see the sprayer’s nozzle, which needs special attention. This part often collects dried paint and can clog if not cleaned properly.
Next, attach the container filled with the cleaner back to the sprayer. Give it a good run, allowing the solution to flush through. This step is essential for removing any leftover paint. The image illustrates this process too, highlighting the importance of thorough cleaning.
Finally, don’t forget to clean the nozzle with a paintbrush or a similar tool. This step is crucial to ensure smooth spraying next time. The image shows someone using a brush to clean, which indicates how simple yet effective this step can be.
Techniques for Even Coverage
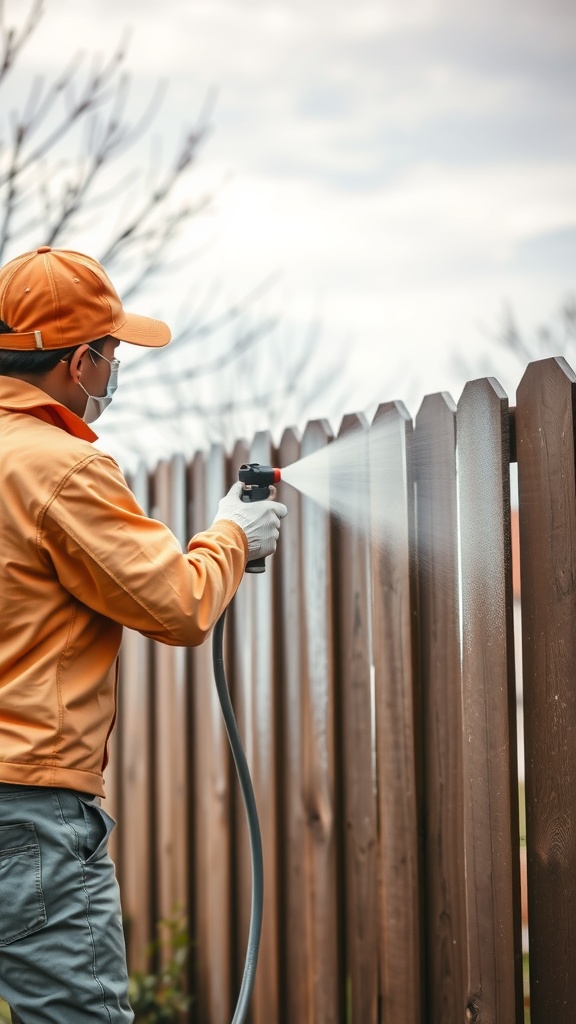
Using a paint sprayer might seem tricky at first, but with the right techniques, you can achieve a smooth and even finish. The image shows a person in an orange shirt and cap, carefully spraying a wooden fence. This visual example underscores the importance of proper technique.
One key tip is to maintain a consistent distance from the surface. About 12 to 18 inches is a good range. If you get too close, you risk drips and uneven coverage. This person is keeping a steady hand, which is vital for a flawless look.
Another technique is to use a sweeping motion while spraying. This method helps distribute the paint evenly. Notice how the person in the image moves the sprayer side to side. This avoids pooling in one area, which can lead to a blotchy appearance.
Consider overlapping your strokes slightly. This ensures that no areas are missed. The person in the picture is doing just that, which is a great practice to follow. Following these beginner tips to using a paint sprayer can make all the difference in your project.
Don’t forget to spray in a crosshatch pattern. This technique involves spraying in one direction and then going back over it at a 90-degree angle. This extra step can help achieve that professional finish we all desire. With patience and practice, you’ll master your sprayer in no time!
Understanding Paint Sprayer Types
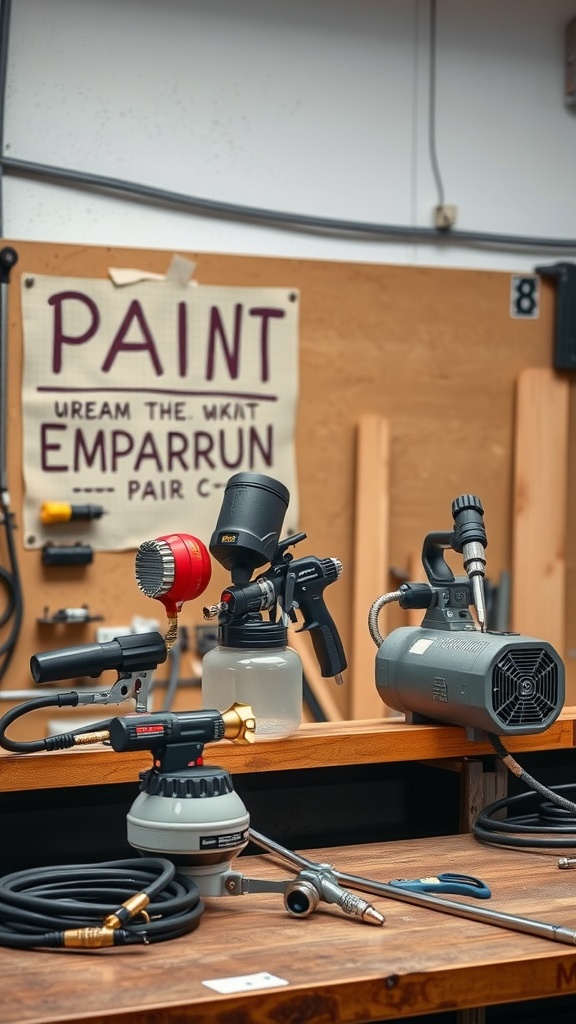
When starting with a paint sprayer, it’s essential to know the different types available. Each type has its own features and uses. The image shows several paint sprayers lined up on a workbench, demonstrating a variety of options you might consider.
On the left, there’s a gravity-feed spray gun, perfect for fine details and smaller projects. The canister above it holds the paint, allowing gravity to pull it down for a smooth spray. In the middle, the airless sprayer shines as a versatile choice, ideal for larger areas. It uses high pressure to atomize paint, making it efficient for big jobs.
Finally, on the right, there’s a turbine sprayer, which is compact and user-friendly. It’s great for home projects and usually gives a fine finish. Understanding these types can guide you on which one to pick for your task. Keep these beginner tips to using a paint sprayer in mind as you explore your options!
Common Mistakes to Avoid
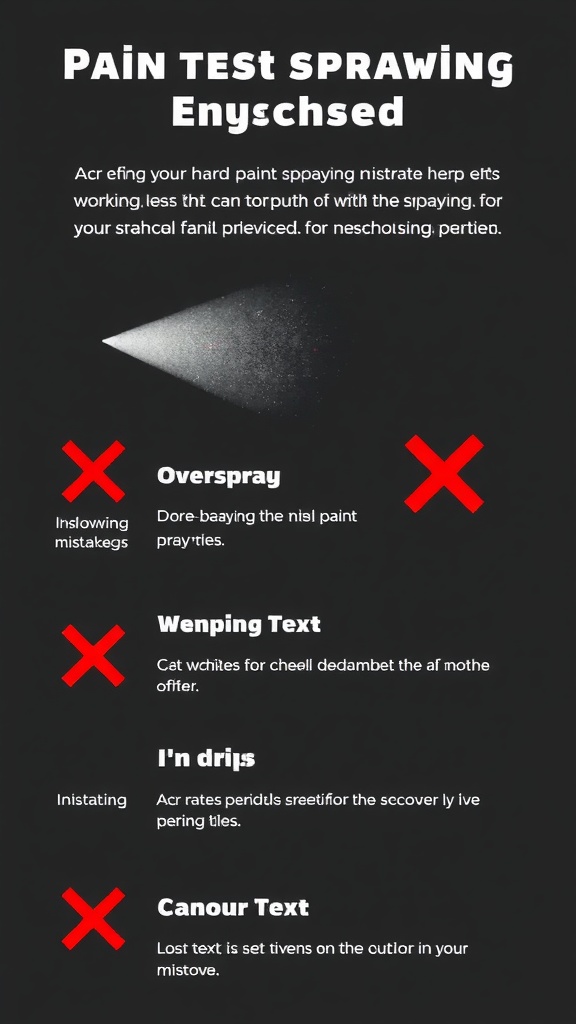
Using a paint sprayer can be an exciting way to transform your space. However, beginners sometimes make mistakes that can ruin their projects. One of the biggest issues is overspray. This happens when paint lands where you don’t want it. It’s important to protect surrounding areas to avoid this mess.
Another common mistake is not testing the sprayer first. Always do a test run on a piece of cardboard. This lets you see how the paint sprays and can help you adjust settings accordingly. You want to get comfortable with the tool before jumping into the actual work.
Don’t forget about the importance of proper paint consistency. Thicker paint can clog the sprayer, while too thin paint may run. Follow the manufacturer’s instructions on thinning paint for the best results.
Lastly, pay attention to your distance from the surface. If you spray too close, you might get drips. If too far away, you might end up with uneven coverage. Finding that sweet spot is key to a smooth finish.
Storage and Maintenance Tips for Longevity
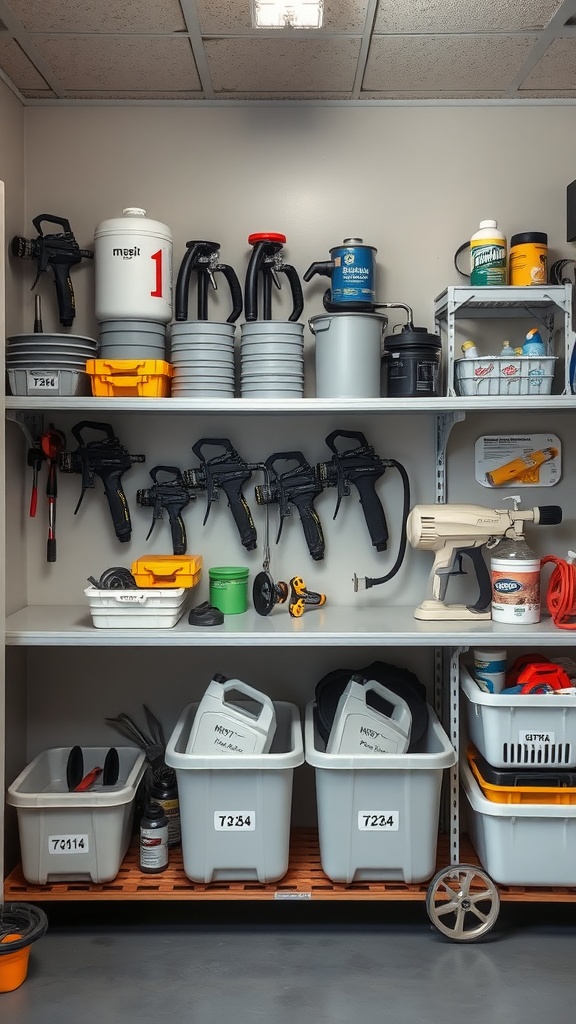
Proper storage and maintenance are key to extending the life of your paint sprayer. The image shows a well-organized workspace with various paint sprayers and supplies. Notice how everything is neatly arranged on shelves, making it easy to find what you need.
First, always clean your paint sprayer right after use. Leaving paint inside can lead to clogs and damage. Use the appropriate cleaning solution based on the type of paint you used. A good practice is to have a dedicated container for cleaning materials.
Next, store your sprayer in a dry, clean area. Humidity can be harmful, so choose a location with stable temperatures. The image highlights labeled bins and storage containers; this is a great way to keep everything organized and easy to access.
Check your equipment regularly for any signs of wear. This includes checking the hoses and nozzles for leaks or damage. Taking a few moments during your routine maintenance can save you from bigger issues down the line.
Lastly, consider keeping a manual or quick reference guide handy. This can help you troubleshoot issues or remind you of the best practices. Following these beginner tips to using a paint sprayer will make your projects smoother and more enjoyable.